Contents
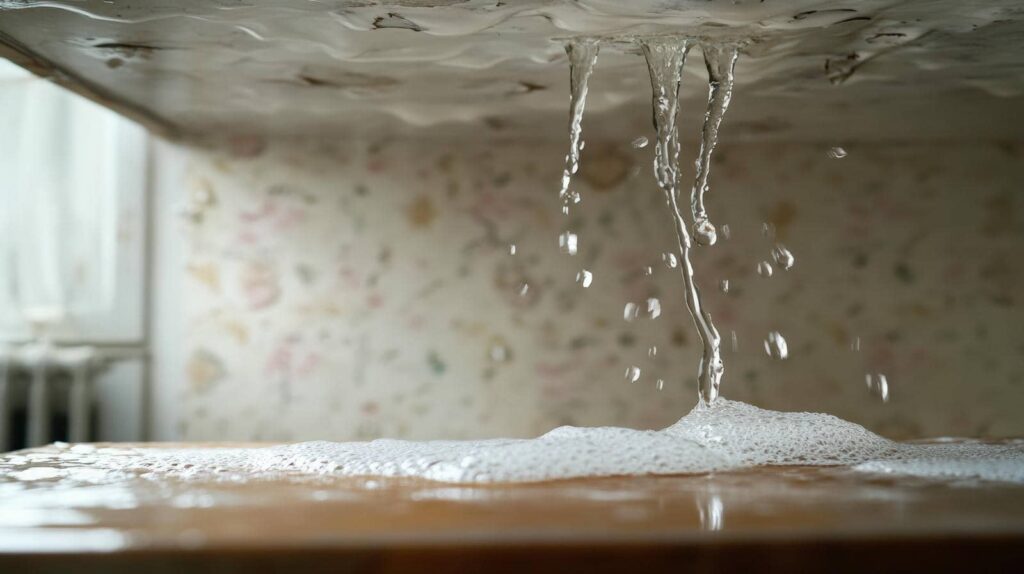
When you encounter burst pipes, it’s vital to act quickly and methodically. Start by identifying the source of the leak to assess the damage accurately. Next, you’ll need to shut off the water supply to prevent additional issues. Finally, decide whether to repair or replace the pipe based on its condition. Understanding these steps can save you time and money, but knowing the right materials and methods is essential for long-term success.
Key Takeaways
- Immediately shut off the main water supply to prevent further damage from the burst pipe.
- Assess the damage to determine whether to repair or replace the affected pipe.
- Use appropriate repair methods based on pipe material, such as patching for PVC or soldering for copper.
- Check for signs of corrosion or wear in surrounding pipes to prevent future leaks.
- Keep necessary tools on hand for quick repairs and educate household members about emergency procedures.
Identify the Source of the Leak
How can you effectively pinpoint the source of a leak? Start by observing changes in your water pressure. A sudden drop might indicate a leak.
Use leak detection tools like moisture meters or acoustic devices to identify hidden leaks. Listen for unusual sounds, such as hissing or dripping, which can guide you to the affected area.
Check your water meter; if it’s running while all fixtures are off, there’s a leak somewhere. Inspect visible pipes, joints, and connections for signs of moisture or corrosion.
If you suspect a slab leak, watch for wet spots on your floor or increased water bills.
Shut Off the Water Supply
When dealing with burst pipes, shutting off the water supply is essential and should be your first step.
Locate the main water shutoff valve, usually found near the water meter or where the water line enters your home. Turn it clockwise to stop the flow of water. This action minimizes damage and prevents further flooding, making it a vital part of your emergency preparedness plan.
If you can’t find the main valve, check for local water shutoff options or community guidelines about emergency procedures. Familiarizing yourself with these details ahead of time can save you significant trouble during a crisis.
Once the water supply is off, you can focus on evaluating the damage and planning your next move.
Repair or Replace the Damaged Pipe
After shutting off the water supply, you’ll need to assess whether to repair or replace the damaged pipe. The decision often hinges on the pipe materials and the severity of the damage. For minor leaks in flexible materials like PVC or PEX, repair techniques such as patching or using a coupling may suffice. However, with older metal pipes or extensive damage, replacement is usually the best option to ensure long-term reliability.
Here’s a quick comparison to help you decide:
| Pipe Material | Repair Techniques | Replacement Considerations |
|---|---|---|
| PVC | Patching, Couplings | Check for overall condition |
| PEX | Clamps, Sleeves | Evaluate age and wear |
| Copper | Soldering, Epoxy | Consider corrosion and leaks |
| Cast Iron | Epoxy, Clamp | Look for rust and structural issues |
| Galvanized | Threaded fittings, Sealants | Assess for leaks and integrity |
Choose wisely to maintain your plumbing system’s efficiency!
Recap
Ultimately, your swift action can turn a deluge into a mere trickle. By pinpointing the leak, cutting off the water, and addressing the damage, you safeguard your home from further disaster. With the right materials and techniques, you’ll patch the pipe and fortify your plumbing against future mishaps. Remember, every repair is a step toward lasting integrity, ensuring your water flows freely and your worries wash away.
Recent Posts
Top Tools for Efficient Home Flood Recovery
When facing home flood recovery, it’s vital to have the right tools at your disposal.
7 Best Tools for Effective Flood Cleanup
When tackling flood cleanup, knowing what tools to use, understanding their purpose, and mastering their
What Are Effective Techniques for Detecting Pipe Leaks?
Detecting pipe leaks is essential for maintaining infrastructure and preventing costly damage. You can utilize